10 essential Outlook rules to amplify your productivity
2 May 2024

Contents of article
- What are Outlook rules and how do they work?
- How to create a rule in Outlook
- Outlook rules not working? Here's what to do
- The 10 best Outlook rules to improve your productivity
- View rules applying to a mailbox
- Flag emails from important senders
- Highlight emails with specific keywords
- Move emails from specific senders to designated folders
- Send automatic replies during specific time periods
- Clean up your inbox with a delete or move to archive rule
- Set up categories based on keywords
- Removing or reducing attachments in emails
- Adding custom alerts for specific emails
- Forwarding emails to specific recipients
- Using Exclaimer without rules
- Frequently asked questions about Outlook rules
Feeling overwhelmed by the never-ending influx of emails in your Outlook inbox? Discover how Outlook rules can help you take control, boost productivity, and never miss an important message again.
In this comprehensive guide, we'll explore the best Outlook rules to implement and show you exactly how to set them up for maximum efficiency.
What are Outlook rules and how do they work?
Outlook rules are essentially automated actions that can be set up to manage your emails as they come in. They work by applying a set of conditions and actions to incoming emails, allowing you to filter, organize, prioritize, or even delete them automatically.
For example, you can create a rule that moves all emails from a specific sender directly into a designated folder or marks them as important. This can save you time and effort in manually sorting through your inbox and help you stay on top of important emails.
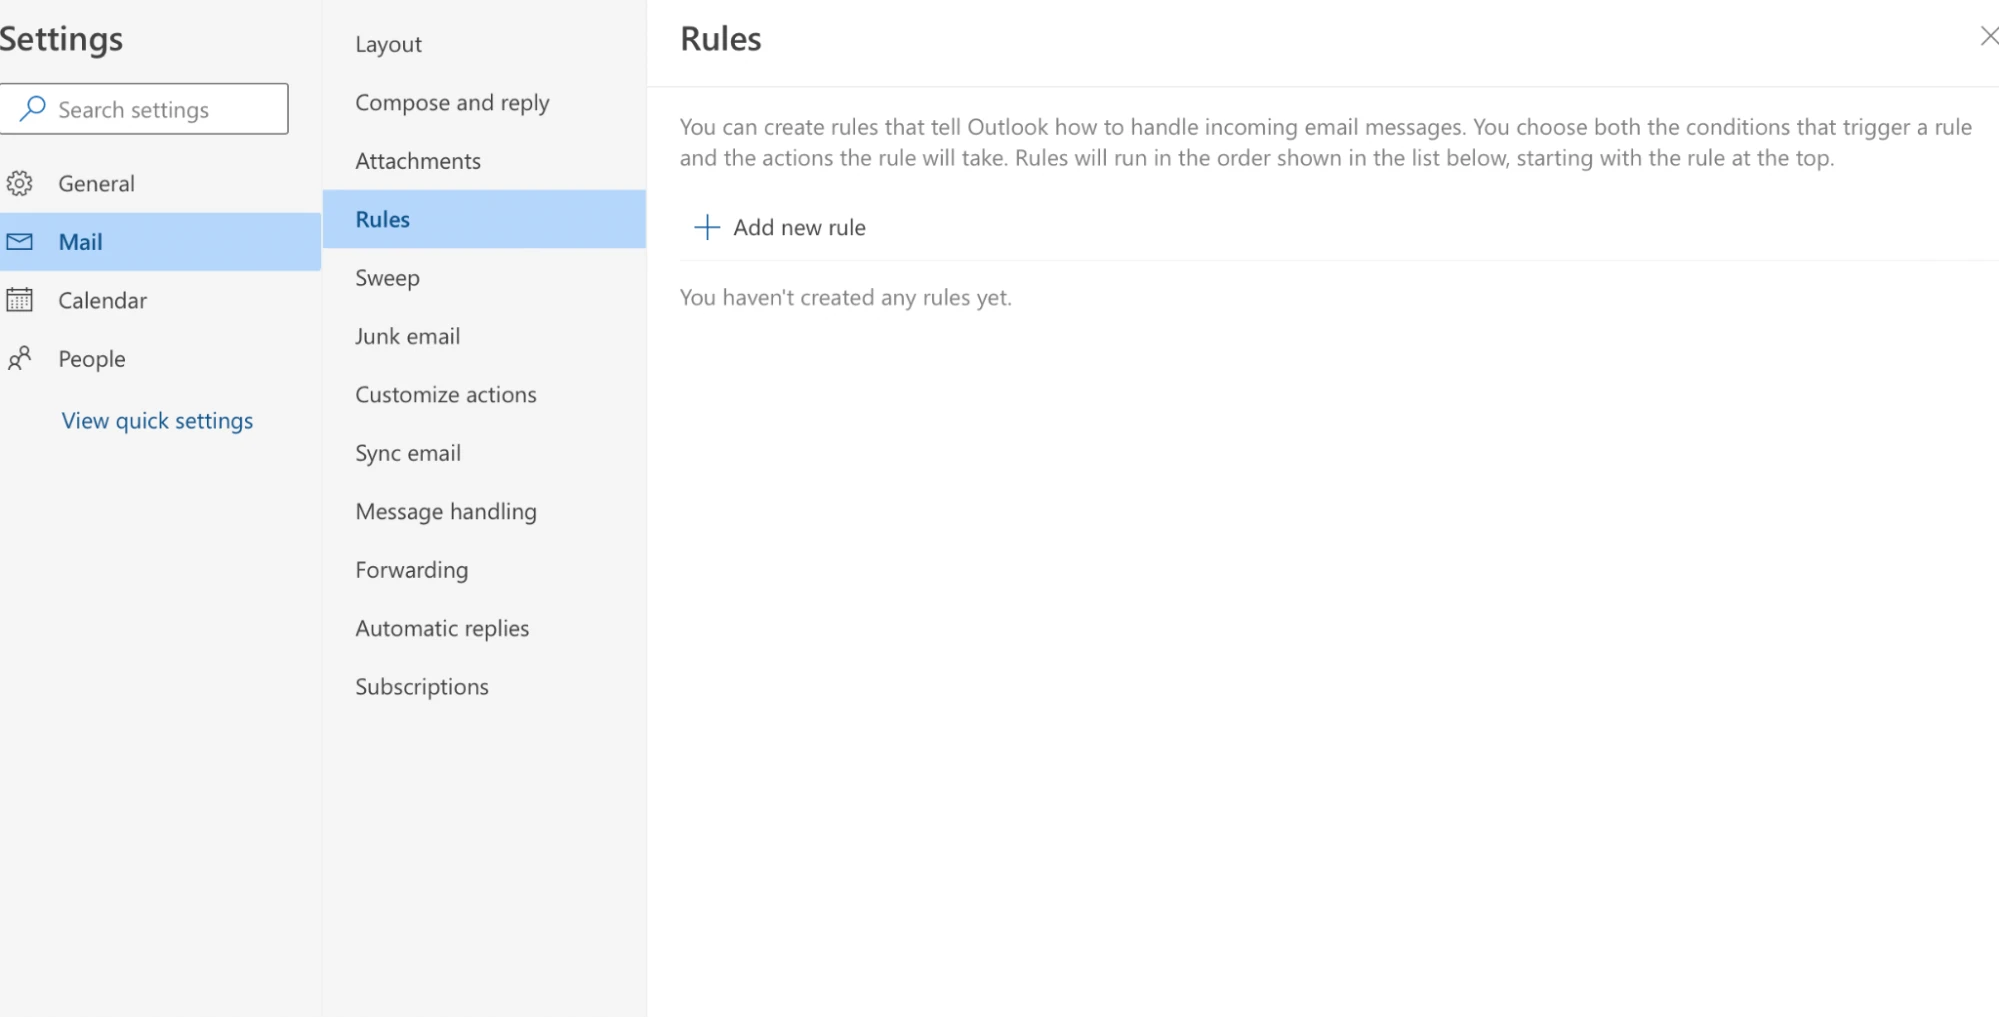
How to create a rule in Outlook
Creating a rule in Outlook is simple and can be done in just a few steps:
In your Outlook inbox, go to the "File" tab and select "Manage Rules & Alerts".
Click on the "New Rule" button and choose whether you want to apply the rule to all messages or only a specific set of emails.
Next, you can set up the conditions that must be met for the rule to be applied. This can include specific senders, subjects, or even keywords in the body of the email.
Then, select the action you want the rule to take when these conditions are met. You can choose from a variety of options such as moving emails to a designated folder, forwarding them to another email address, or deleting them.
Finally, give your rule a name and click "Finish". Your rule will now be applied to all incoming emails that meet the specified conditions.
Outlook rules not working? Here's what to do
If you've created a rule in Outlook but it's not working as expected, there are a few things you can do to troubleshoot the issue:
Check that the rule is enabled: Make sure the checkbox next to your rule is selected in the "Rules and Alerts" window. If it's not, click on it to enable it.
Verify the conditions and actions: Double-check that you've set up the rule correctly and that all conditions and actions are exactly as you intended.
Clear old rules: If you've got a large number of outdated or conflicting rules, it can cause issues with your new rule. Try deleting any unnecessary rules to see if this resolves the problem.
The 10 best Outlook rules to improve your productivity
Now that you know how to create and troubleshoot Outlook rules, let's dive into some of the most useful ones to boost your productivity:
1. View rules applying to a mailbox
To understand which rules are actively affecting a specific mailbox, the Get-InboxRule cmdlet is a useful tool. It provides a list of all rules that are currently applied to any given mailbox:
Open the Exchange Management Shell. For Office 365 users, you'll need to use the Azure PowerShell module.
Type "Get-InboxRule -Mailbox yourmailbox@domain.com", replacing "yourmailbox@domain.com" with the actual email address of the mailbox you want to inspect.
Press "Enter". You'll see a detailed list of all the rules currently applied to the mailbox you specified.
To get more detailed information about a specific rule, you can type "Get-InboxRule -Identity "RuleName" -Mailbox yourmailbox@domain.com", replacing "RuleName" with the name of the rule you're interested in.
Browse through the list to understand which rules are active and analyze their conditions and actions to ensure they align with your email management strategy.
2. Flag emails from important senders
To ensure emails from certain contacts that demand prompt attention are easily noticeable, you can establish a rule for flagging such messages for follow-up.
By implementing this rule, the emails will be marked with a red flag, making them more prominent in your inbox:
Create a new rule with the condition "From" and enter the email address of the sender.
For the action, choose "Flag message for follow up" and select your desired flag color, e.g., red.
You can also add additional actions to this rule, such as moving the flagged emails to a designated folder or marking them as important.
3. Highlight emails with specific keywords
Improve your email management by creating a rule to highlight messages with specific keywords in the subject line. This helps track important emails or projects by making them stand out in your inbox for quick identification:
Create a new rule with the condition "Subject includes" and enter the keyword(s) you want to highlight.
For the action, choose "Categories" and select a color to highlight these emails.
You can also add additional actions, such as moving or forwarding these emails, in combination with highlighting them for even more efficiency.
4. Move emails from specific senders to designated folders
To sort emails from certain senders out of your main inbox, set up a rule to auto-move them to specific folders:
Create a new rule with the condition "From" and enter the email address of the sender.
For the action, choose "Move message" and select the folder where you want these emails to be moved.
You can also add additional actions, such as marking them as read or deleting them after they're moved to the designated folder.
5. Send automatic replies during specific time periods
An automatic reply rule for your email can be created to send out of office responses during specific times, like being on vacation:
Create a new rule with the condition "Received in a specific date span" and enter the dates when you want the automatic reply to be sent.
For the action, choose "have server reply using a specific message" and enter your desired automatic reply message.
You can also add additional actions, such as moving these emails to a designated folder or marking them as read after the automatic reply is sent.
6. Clean up your inbox with a delete or move to archive rule
For those swamped with emails, automating the moving or deletion of old messages can keep your inbox tidy and organized, ensuring vital emails remain safe:
Create a new rule with the condition "Date received is greater than (insert number) days" and enter the number of days after which you want these emails to be deleted or moved.
For the action, choose "Delete" or "Move to folder" and select the designated archive folder.
You can also set additional conditions, such as only applying this rule to specific senders, subjects, or keywords for more targeted cleaning.
7. Set up categories based on keywords
Categories in Outlook are a great way to visually organize your emails. You can create a rule to automatically assign categories based on specific keywords in the subject line or body of the email:
Create a new rule with the condition "Subject includes" and enter the keyword(s) you want to use for categorization.
For the action, choose "Assign it to the category" and select your desired category.
You can also set up multiple actions for different categories, allowing you to categorize emails automatically as they come in.
8. Removing or reducing attachments in emails
Large Outlook attachments can take up a lot of space in your mailbox, leading to slower performance.
To avoid this, you can create a rule that removes or reduces the size of attachments automatically:
Create a new rule with the condition "Size is greater than (insert number) KB" and enter the maximum attachment size you want to allow.
For the action, choose "Delete" or "Move to folder", and select a designated folder for these emails.
You can also set up additional conditions, such as only applying this rule to specific senders or subjects, for more targeted results.
9. Adding custom alerts for specific emails
If there are certain emails that you need to be notified about immediately, you can create an Outlook rule that sets up a custom alert for these messages:
Create a new rule with the condition "Subject includes" and enter the keyword(s) for the email you want to receive a custom alert for.
For the action, choose "Display a Desktop Alert" and enter your desired message.
You can also add additional actions to this rule, such as moving the email to a designated folder or marking it as important.
10. Forwarding emails to specific recipients
If you get emails that need sharing, set up a rule to auto-forward them to chosen recipients, saving time and effort.
Create a new rule with the condition "Received from" and enter the email address of the sender.
For the action, choose "Forward it to" and enter the email address(es) of the recipient(s).
You can also add additional conditions for more targeted forwarding, such as only applying this rule to emails with specific keywords or from a certain time period.
Using Exclaimer without rules
Outlook rules are powerful but can be complex. With Exclaimer, setting up professional email signatures for your entire organization is easy, without needing complex rules. Our Office 365 email signature manager works with directly with Outlook, providing a seamless experience. Our drag-and-drop editor also allows for easy creation of personalized signatures, no coding required.
Discover how Exclaimer can enhance your email communications by scheduling an online demo or engaging in an interactive product tour today.